HOSTESS

Kennedy's Fourth Birthday Party

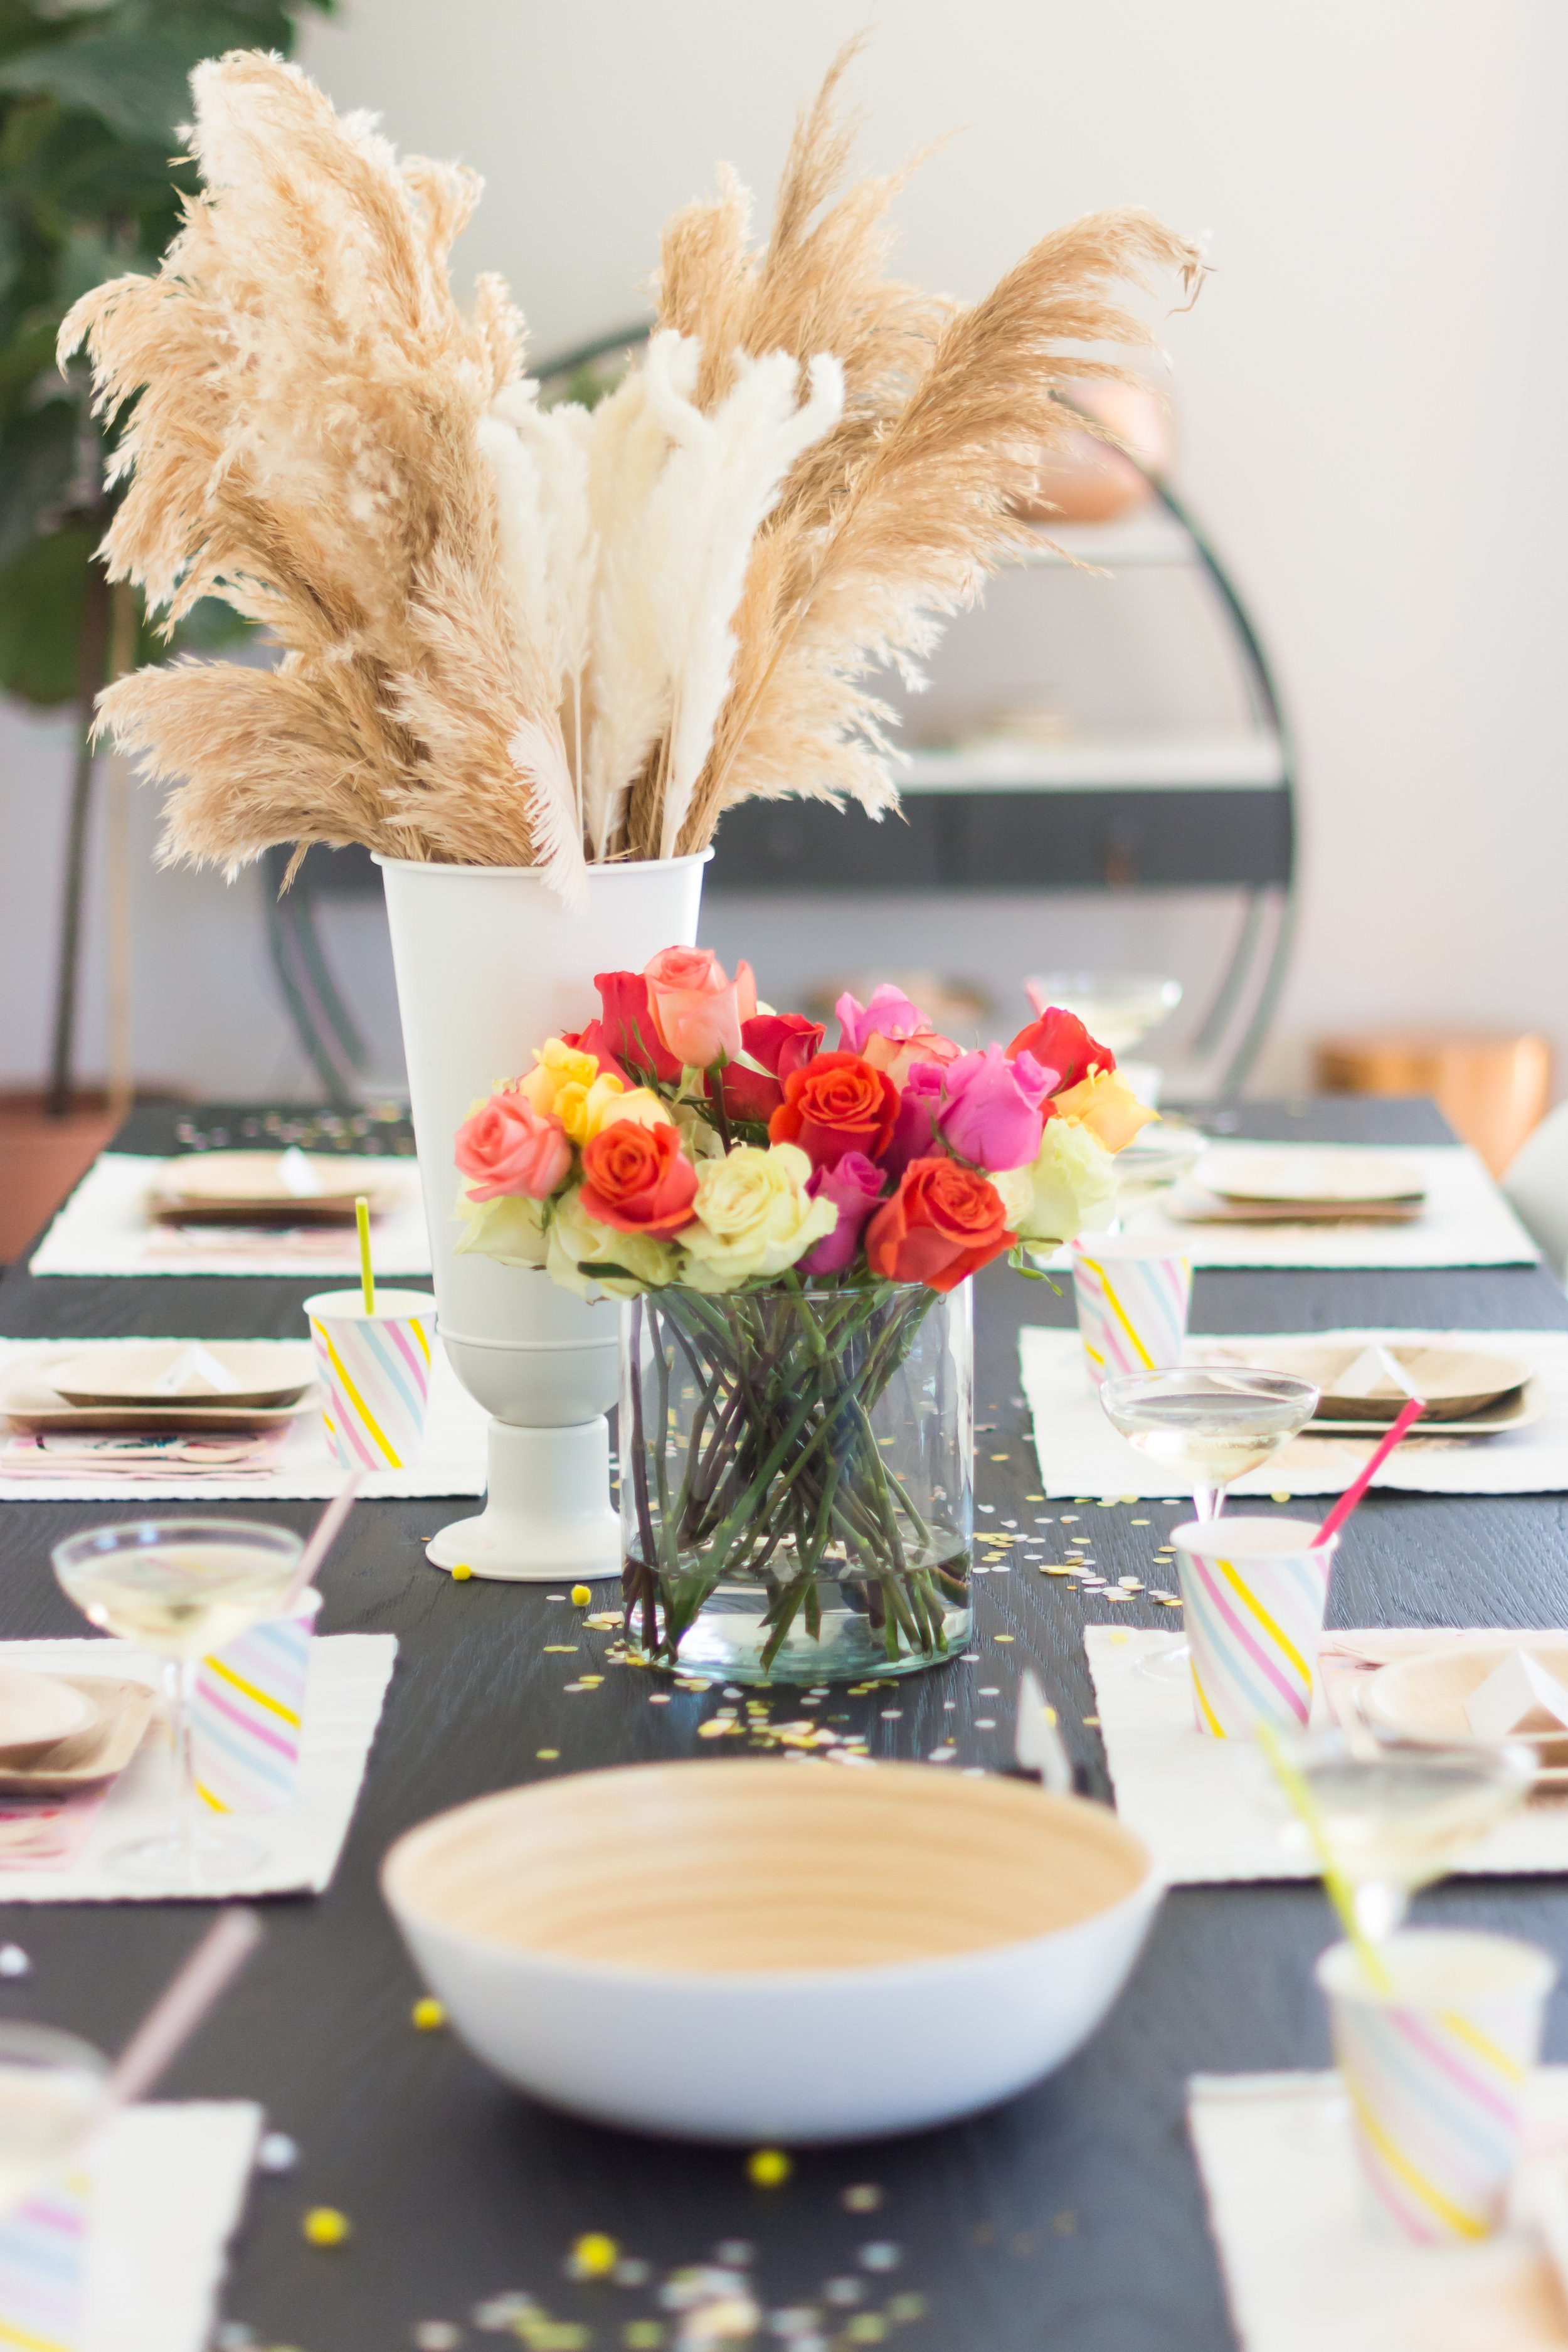
For Kennedy’s fourth birthday party, we wanted to throw a party that was suitable for both children and adults. The llama birthday party collection at Target gave us a really fun base to then plan our party decorations from. With the earthy nature of the llama and look of the studio, we used these palm recyclable palm leaf plates for our flatware; I absolutely love this set!

IMG_5495.jpg
DSC_0187.jpg
DSC_0211.jpg
DSC_0218.jpg
DSC_0181.jpg
DSC_0306.jpg
DSC_0208.jpg
IMG_5531.jpg

Since Kenny and I are both gluten-free, Urban Cookies has the BEST, local choices for gluten-free cupcakes and donuts (donuts are vegan too).

IMG_5546.jpg
DSC_0246.jpg
DSC_0274.jpg

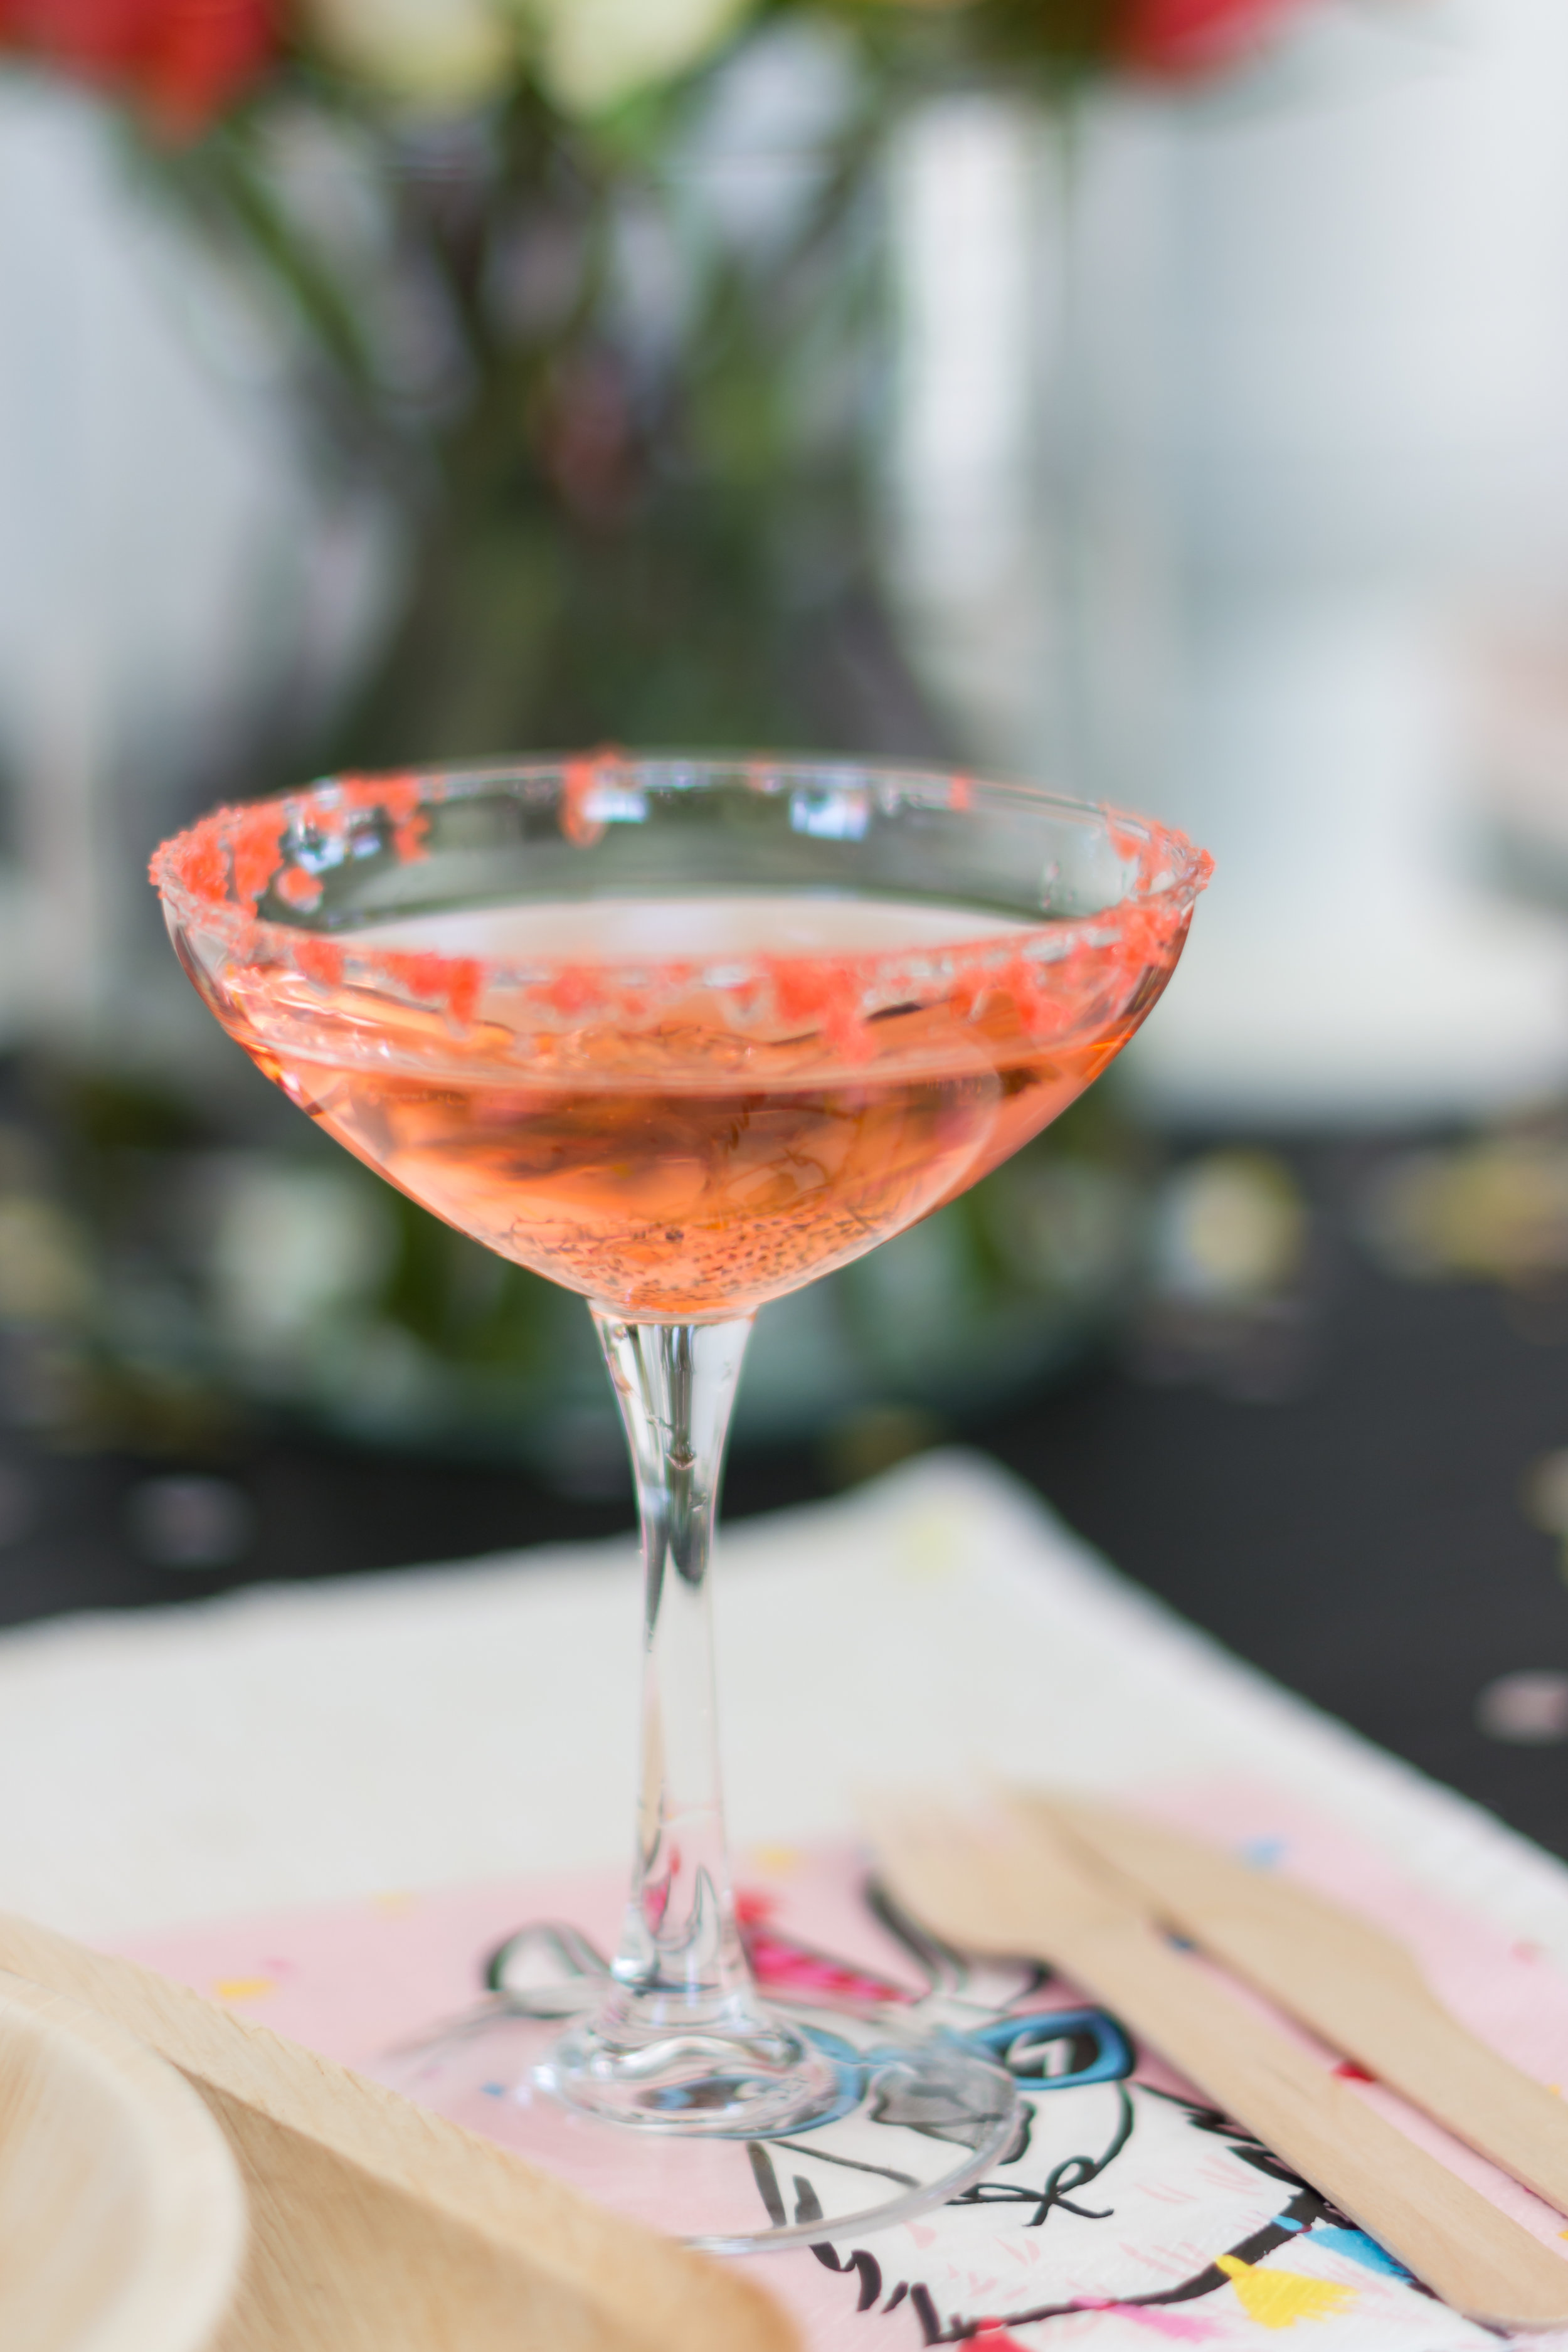
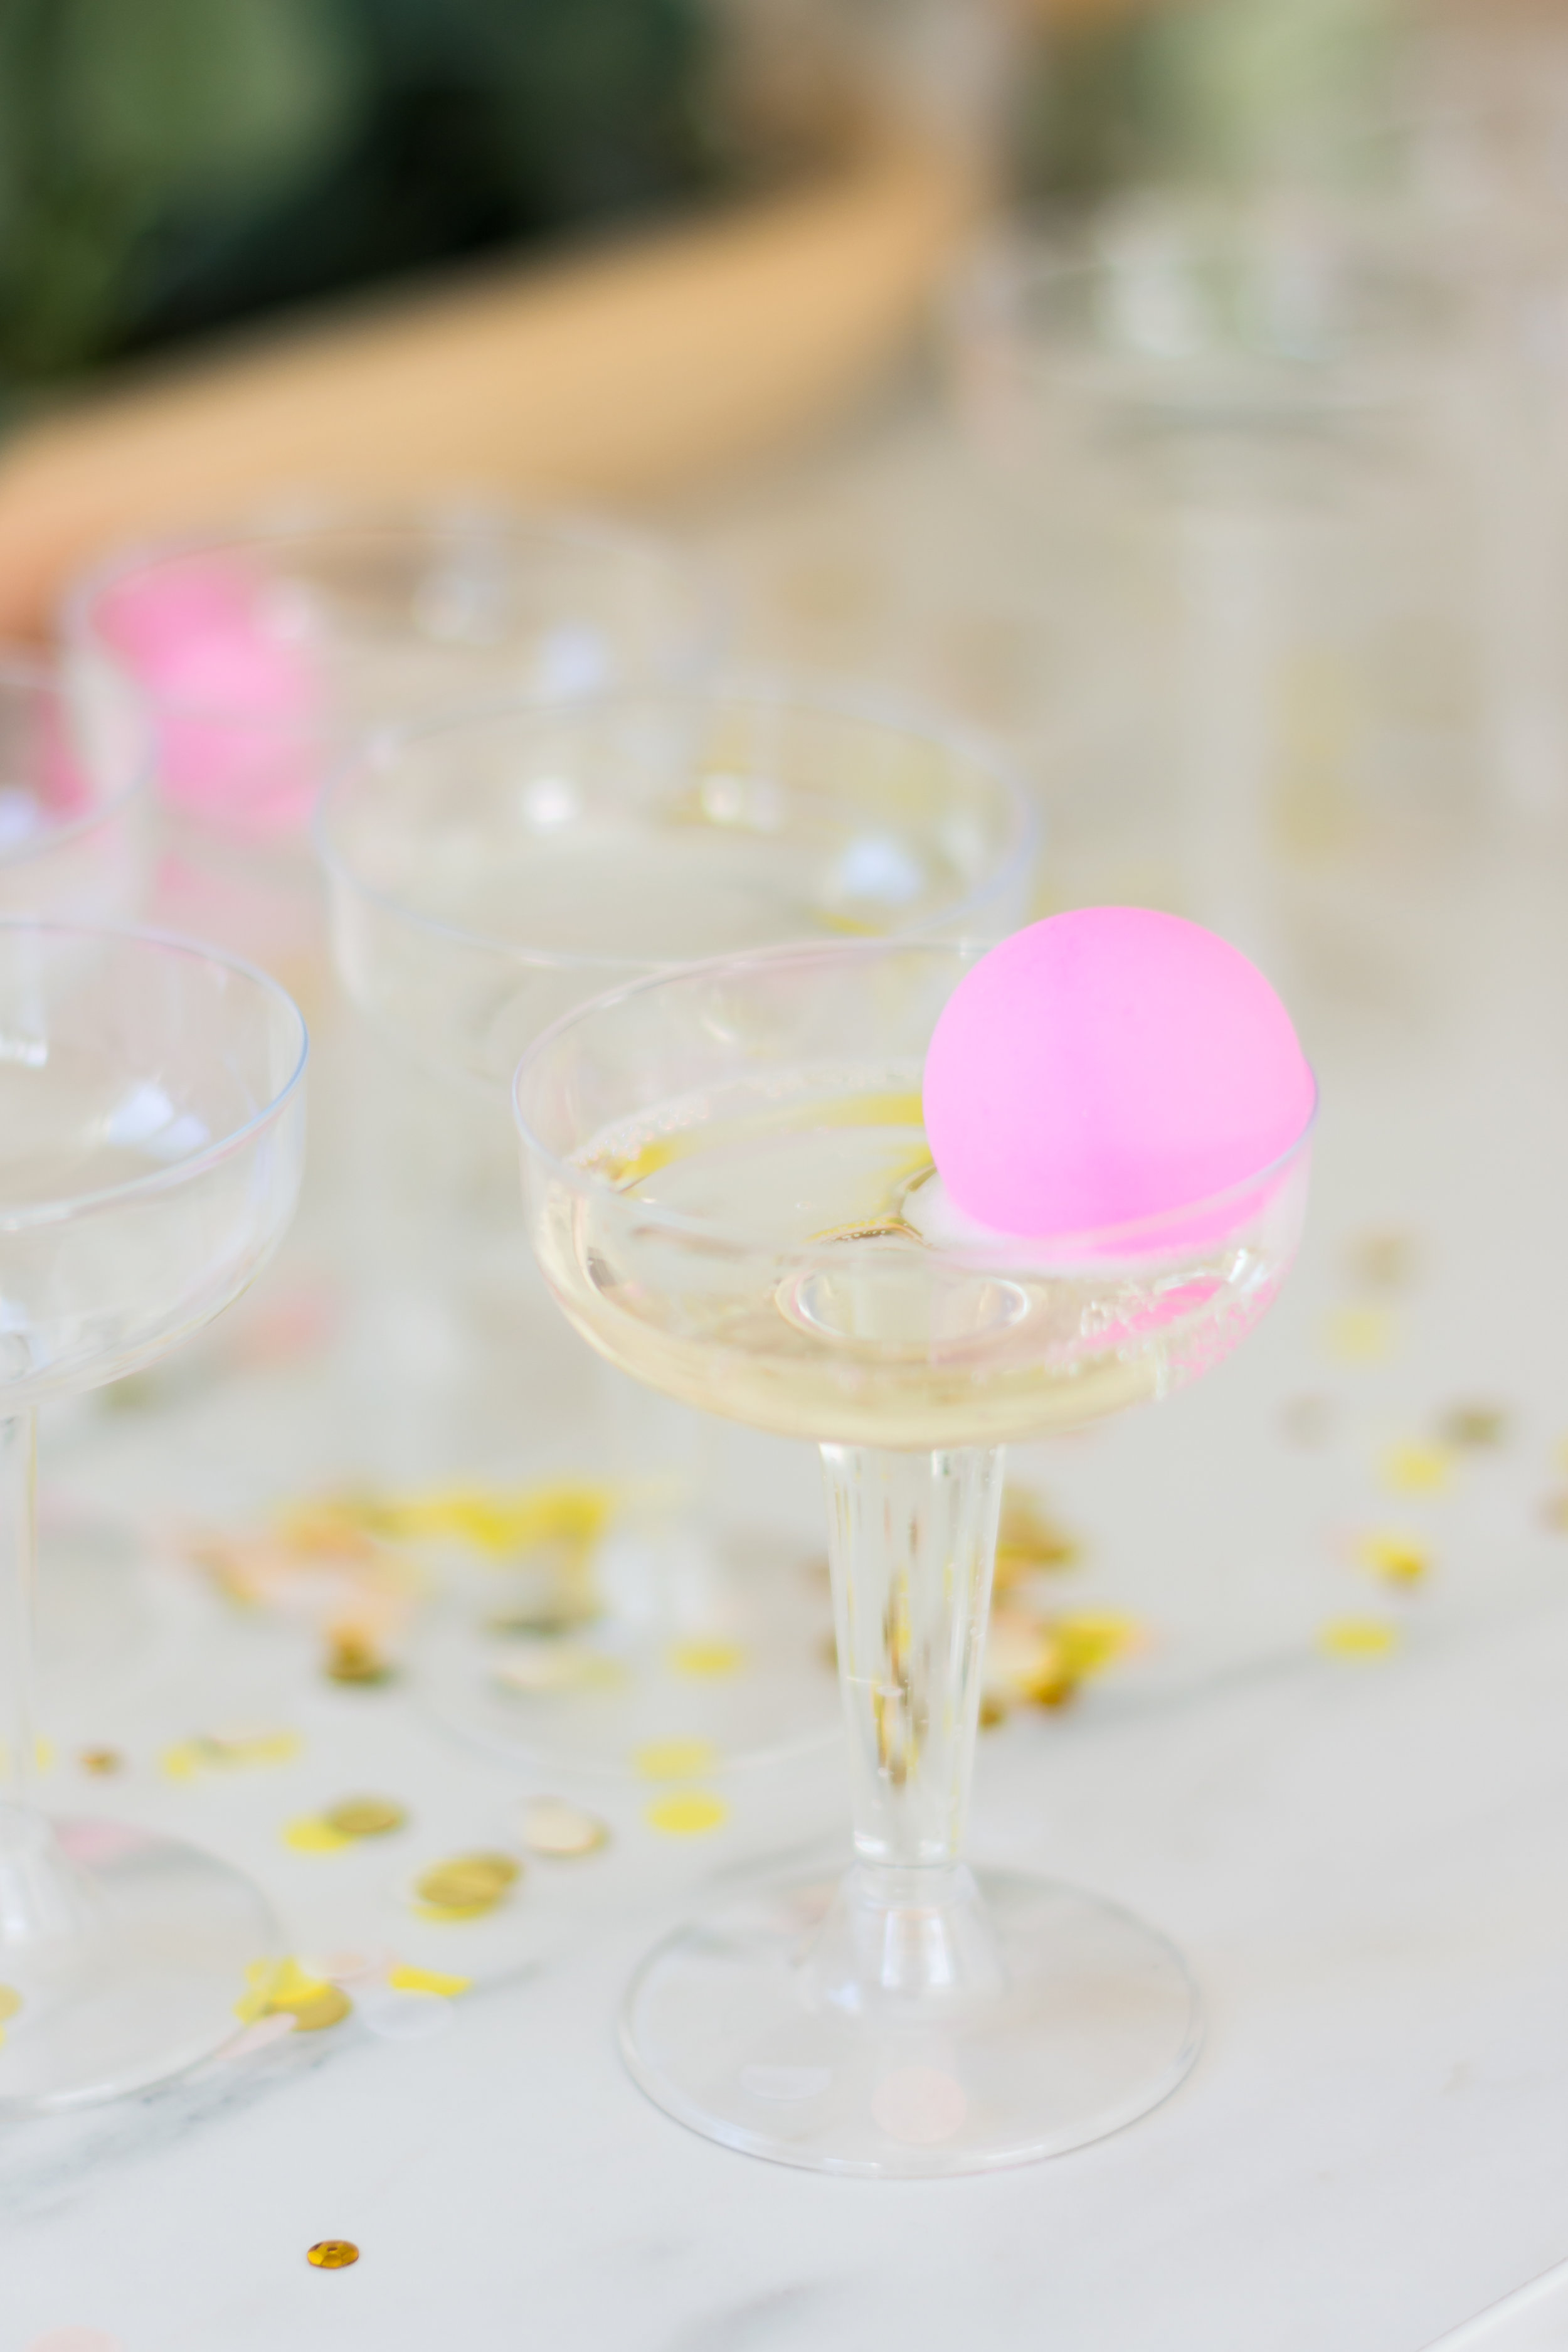
Given our party theme, where “kid party meets adult party,” we added some fun things from our childhood and early adulthood to accent the “grown-up” treats. For instance, the prosecco glasses were lined with pop rocks, giving our guests quite the surprise when they took their first sip! Secondly, Kennedy’s ice cream cart was accompanied by a three tiered galvanized tray of self serve ice cream, dishing out toppings like sprinkles and chocolate syrup to adorn (thank you for the inspiration Sugar and Charm!) To say the least, the “grown ups” and kiddos were all having fun by noon … Prosecco pong, anyone?!?!

DSC_0254.jpg
DSC_0255.jpg
DSC_0226.jpg
IMG_5494.jpg
DSC_0347.jpg

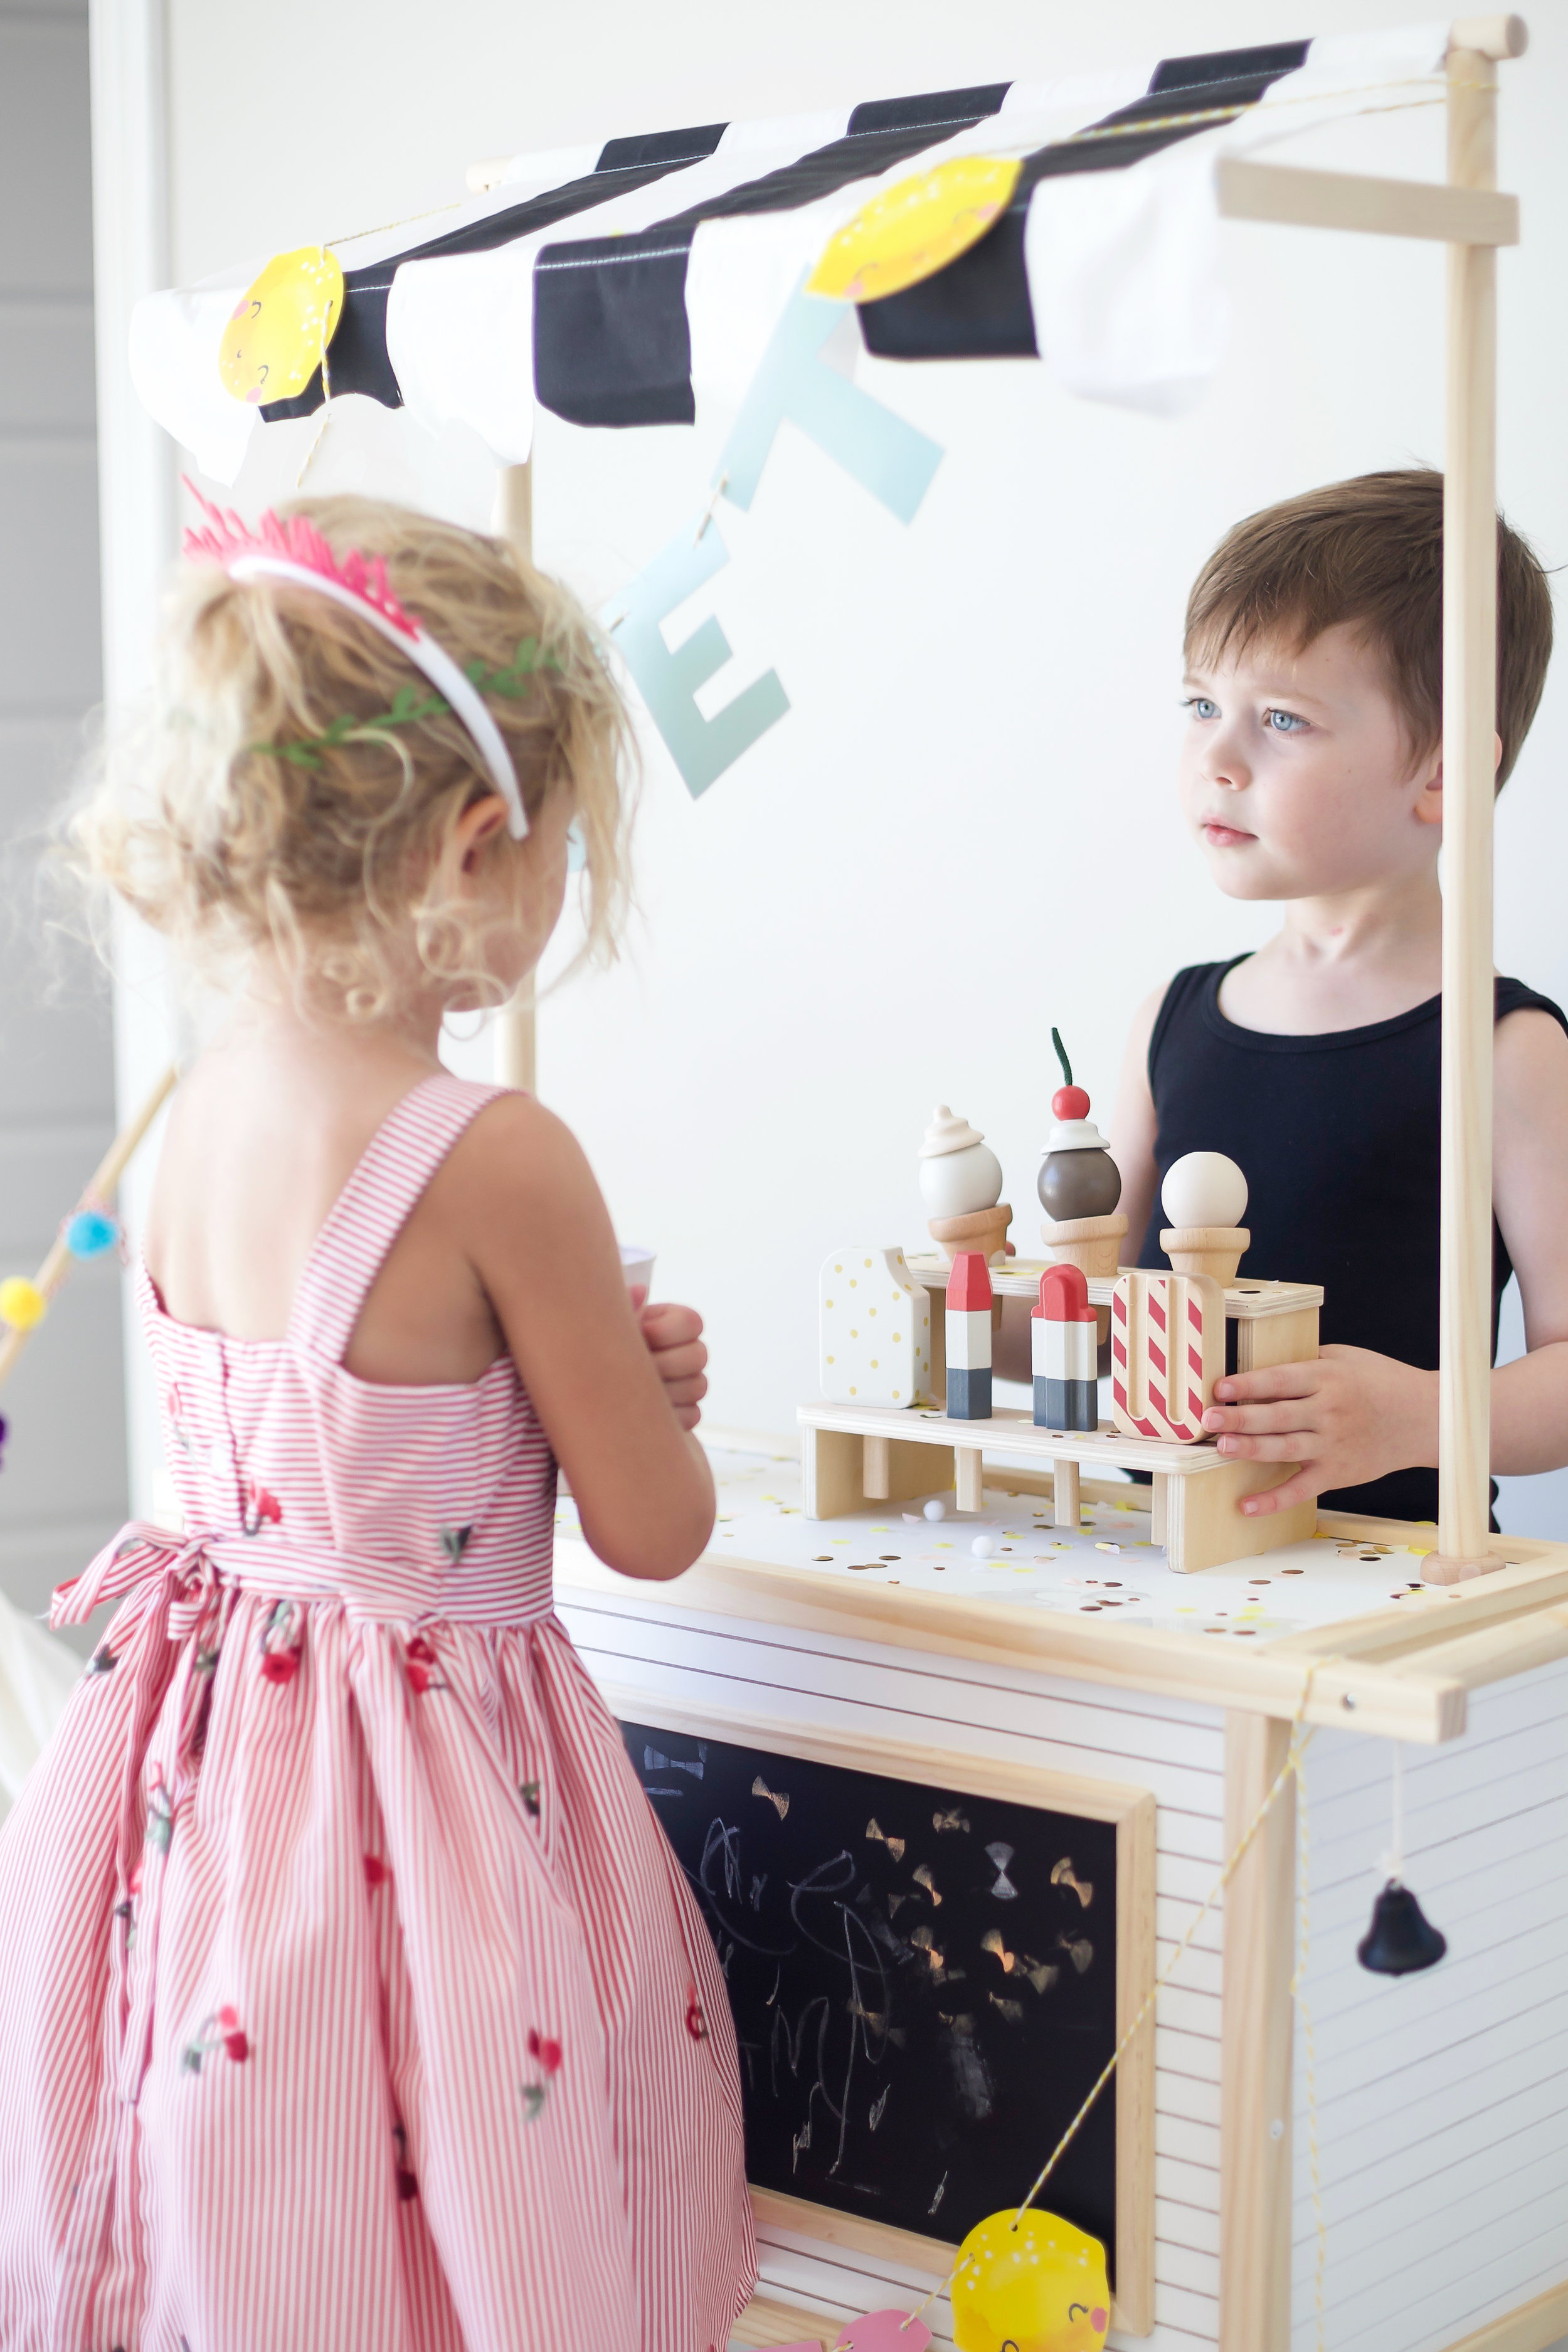
This kid’s market shop cart from Hand and Hearth by Magnolia at Target was the best birthday gift and party accessory all wrapped into one! The wooden ice cream set is sold separately, but a must-have with the cart.
IMG_5591.jpg
DSC_0311.jpg
 
DSC_0197.jpg
DSC_0269.jpg
DSC_0276.jpg
DSC_0242.jpg
DSC_0305.jpg
DSC_0216.jpg
DSC_0339.jpg
IMG_5592.jpg
DSC_0313.jpg
DSC_0203.jpg
DSC_0315.jpg
IMG_5558.jpg
DSC_0205.jpg
Yum

Arizona Desert Bohemian Baby Shower

Our baby shower theme was inspired by how our baby plans to enter into this world. . . 

She will be in her most simple and earthy form, making her way into our loving, casual environment we call home.  Upon her arrival, she will be greeted by genuine, loving family members who can't wait to see her beautiful face for the very first time.


DIY "My Wish For You" First Baby Book

full tutorial coming soon

I genuinely loved visiting with all of our friends and family at the baby shower.  One by one, I got a chance to hear everyones' loving wishes, advice, so much more.  Although the memories are alive and well in my brain, I wanted to capture this special moment in time so I could share with Kennedy when she gets older.  In order to do so, I created this "My Wish For You" book.  Her journey begins at her very first party where she is still an idea in everyone's mind.

After I had a chance to speak with all my guests, I asked everyone individually to write down their thoughts, prayers and wishes for baby Kennedy.  We left out pens and had them write on the blank description portion of stock polaroid images.  We captured so many beautiful moments in thought from everyone including her soon-to-be-mom, dad, grandparents, friends.  Even our cooks and cake-maker wrote beautiful notes!  

I can't wait for Marek and I to share this small time capsule of how much love and anticipation surrounded her arrival.  


DIY Photo Album Tree with Sonogram Baby Pics

full tutorial coming soon

Everyone loves a good sonogram pic.  Even if you can't quite make out what everything is, it feels like a riddle one needs to solve.  And once you've pieced it together, you feel like you've solved the first equation to this beautiful new being . . . maybe you've even discovered who she looks like along the way!

Instead of covering our refrigerator with taped up sonogram images we may destroy, we wanted a proper display party guests could view at their leisure.  We framed Kennedy's first photos and simply displayed them on our backyard tree wrapped with yarn and clothes pins.  The display was strategically distant to the party noise.


DIY Bohemian Cake Stand + Cake Recipe

full tutorial coming soon + recipe

Our cake was created and designed by my beautiful and multi-talented friend, Christa, over at Christa's Confections.  Her inspiration came from our backyard bohemian theme and was implemented in a way that was precisely unique.  The cake was elegant and adorned with just enough flowers to create a bold color splash, raising the cake from its unrefined stand.

Supporting the cake with our DIY Bohemian Cake Stand added a simple and earthy element to an otherwise sophisticated dessert.  Christa and I must have been on the same creative wave-length because neither of us saw the other's creation (cake nor stand) until the day of the party . . . We were shocked how perfectly they complimented each other!


DIY Backyard Bohemian Floral Hoops

full tutorial coming soon

Backyard hoops have become a recent trend in outdoor decor.  And I have to say . . . I’m kind of loving it.  They take an otherwise simple space and create a main attraction for photos, backdrops, etc.  What’s also nice is you don’t need a wall to create this beautiful focal point.  We simply tied rope around the floral hoops and hung them from our semi-covered patio.  Stay tuned for the tutorial on these super simple bohemian hoops.

Aside from recent trends, there are so many ways to interpret the meaning of a circle.  When I see circles and hoops, the hippie yoga chick comes out and I start thinking about the interpretations of a circle.  The circle of life, the Mandala, or in Zen Buddhism, an ensō.  An ensō is a circle that is hand-drawn in one or two uninhibited brushstrokes, to express a moment when the mind is free to let the body create . . . The perfect metaphor for creating a child.  The ensō symbolizes absolute enlightenment, strength, elegance, the universe, and mu (the void). 


Vintage Punch Bowl + Punch Recipe

recipe

Whenever I host a party, I always incorporate something old and something new.  There's something so magical about extending the life of a vintage piece that makes us all feel timeless, if only for a moment.

This punch bowl was originally my paternal grandmother's and after being stashed away in my fathers junk, I begged him to bring it over for my baby shower.  Immediately, I got flashes of my beautiful Irish grandmother.  I thought about all the amazing parties she hosted and all the wild stories we’d hear if this bowl could talk!


Tablescape 1

DIY Crate Table | DIY Bohemian Coasters | Trader Joes Floral Arrangements | Floating Candles | Wine Glasses & Tags | Threshold Mosaic Plates | Wooden Serving Bowls | Outdoor String Lights & DIY Tea Light Lanterns  


DIY Backyard Crate Table

full tutorial coming soon

When it comes to hosting parties at your home, there’s only so many ways to accommodate large groups of people without buying all new furniture.  For the baby shower, we assumed most people would be standing and socializing, so we really just needed space for food and drinks.  We came up with this creative idea of a DIY backyard crate table.  The very minimal cost associated with the table was a pleasant surprise and it only took us a weekend to put it together!


DIY Bohemian Coasters + Red Wine Spritzer Recipe

Full Tutorial + Recipe

It’s amazing how something as simple as a decorative coaster can add so much life to a party table.  The bold cork and delicate floral accents brought our earthy bohemian theme to life almost immediately.  A simple 3 step process and only 3 materials are required to make these DIY Bohemian Coasters on your own.  Feel free to switch out the materials and coaster base to match any party theme you’re following.  See the super easy tutorial HERE!


DIY Tea Light Lanterns + Backyard String Lights

full tutorial coming soon

If you’re hosting a party at night, the lighting set up is essential.  Lights can easily create or destroy a mood, so it’s important to be aware of their powerful impact.  Most of the time, I prefer lots of soft tea light candles scattered around the party versus a few, big lights that can fill up an entire space on their own.  To me, creates a more casual, inviting, and relaxed environment.

For our shower, I added floating candles, tea light lanterns and backyard string lights.  To make the DIY Tea Light Lanterns, I grabbed about four or five from the dollar section at Target and the hung them from our backyard sonogram tree.  This offered a little lighting to see the images at night, but also added some bohemian decor to a unique space.


Tablescape 2

Magical Thinking Patterned Cutting Boards | Floral Treat Bowls | Threshold Artisan Dinner Plates | Threshold Stoneware Serving Bowls | Pots and Succulents/Plants | DIY Bohemian Coasters | Tea Light Lanterns | Backyard Pillows | Black & Cream Table Runner | Floating Candles

c2O6A6981.jpg

Photography:  Riso Studio | Invitations: Tiny PrintsDIY Bohemian Coasters | DIY "My Wish for You" First Baby Book | DIY Crate Table | DIY Bohemian Backyard Hoops | DIY Cake Stand + Cake Recipe | Magical Thinking Patterned Cutting Boards: Urban Outfitters | Floral Treat Bowls Set: Urban Outfitters | Threshold Mosaic Plates: Target | Threshold Artisan Dinner Plates: Target | Threshold Stoneware Serving Bowls: Target | Pots and Succulents: IKEA | Punch Bowl: Vintage | Tea Light Lanterns: Target ($1 section) | Backyard String Lights: Target | Backyard Pillows: IKEA | Wine Glass Name Tags: Michaels | Black & Cream Threshold Table Runner: Target | Cake: Christa's Confections

Yum

DIY Bohemian Coasters

DIY Bohemian Coasters 15.jpg

For our Baby Shower, Marek and I wanted to keep it casual, simple and earthy, but still celebratory in nature (just like our little one) . . .  

And our bohemian theme was just that - these DIY coasters couldn't have been more perfect!  There are only three easy steps, so even if you didn't graduate from craft school - I guarantee you can make these!  


Materials


4" Round Cork Coasters 

4" Round Cork Coasters 

6' White & Cream Apple Blossom Garland

6' White & Cream Apple Blossom Garland

Mini Glue gun

Mini Glue gun


Steps


1.  Cut garland to coaster size

2.  Put hot glue on outside rim of coaster

3.  Add garland to outside rim


Notes


The hot glue will dry super fast, so you will need to apply small amounts at a time and attach the garland vs. putting glue all the way around, then attaching the garland.   


Yum